

As a leading supplier of Battery Thermal Pads, I'm excited to share with you the detailed installation steps of these essential components. Battery Thermal Pads play a crucial role in dissipating heat from batteries, ensuring their optimal performance and longevity. In this blog post, I'll guide you through the entire installation process, from preparation to the final check.
1. Preparation
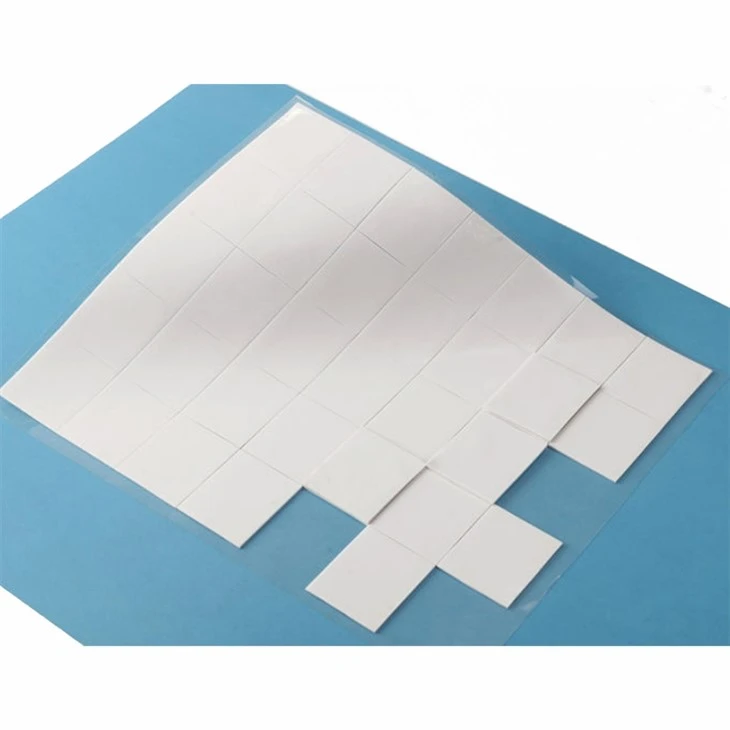
Before you start installing the Battery Thermal Pad, it's essential to gather all the necessary tools and materials. Here's a list of what you'll need: - Battery Thermal Pad: You can find our high - quality Battery Thermal Pad on our website. Our pads are designed to provide excellent thermal conductivity and are suitable for a wide range of battery applications. - Cleaning Supplies: Isopropyl alcohol and lint - free wipes are ideal for cleaning the surfaces where the thermal pad will be applied. This helps to remove any dirt, dust, or grease that could interfere with the pad's adhesion and thermal performance. - Cutting Tools: A sharp utility knife or scissors can be used to cut the thermal pad to the appropriate size. Make sure the cutting tool is clean and sharp to ensure a precise cut. - Safety Equipment: Wear gloves and safety glasses to protect yourself during the installation process.
2. Surface Cleaning
The first step in the installation process is to clean the surfaces of the battery and the heat sink or other components where the thermal pad will be placed. Follow these steps: - Remove the Battery: If possible, remove the battery from the device to make the cleaning and installation process easier. This also reduces the risk of damage to the device during the installation. - Clean the Battery Surface: Dampen a lint - free wipe with isopropyl alcohol and gently wipe the surface of the battery. Make sure to cover the entire area where the thermal pad will be applied. Allow the surface to dry completely before proceeding. - Clean the Heat Sink or Other Components: Repeat the cleaning process for the heat sink or other components that will be in contact with the thermal pad. Ensure that all surfaces are free of debris and contaminants.

3. Measuring and Cutting the Thermal Pad
Once the surfaces are clean, you need to measure and cut the Battery Thermal Pad to the appropriate size. Here's how: - Measure the Surface Area: Use a ruler or measuring tape to measure the dimensions of the area where the thermal pad will be applied. Make sure to measure accurately to ensure a proper fit. - Cut the Thermal Pad: Place the thermal pad on a clean, flat surface and use a sharp utility knife or scissors to cut it to the measured size. Be careful to make straight cuts and avoid tearing the pad. If you need to cut the pad into a specific shape, you can use a template or stencil to guide your cuts.
4. Applying the Thermal Pad
Now it's time to apply the Battery Thermal Pad to the cleaned surfaces. Follow these steps: - Peel the Protective Film: Most Battery Thermal Pads come with a protective film on one or both sides. Carefully peel off the protective film from the side that will be in contact with the battery or other component. - Align the Thermal Pad: Place the exposed side of the thermal pad on the cleaned surface of the battery or heat sink. Make sure the pad is centered and aligned correctly. You can use a ruler or other straight edge to help with alignment. - Press the Thermal Pad: Gently press the thermal pad onto the surface to ensure good adhesion. Use a flat tool, such as a credit card or a plastic scraper, to smooth out any air bubbles or wrinkles in the pad. Apply even pressure across the entire surface of the pad.
5. Mounting the Battery
After applying the thermal pad, it's time to mount the battery back into the device or onto the heat sink. Here's what you need to do: - Position the Battery: Carefully place the battery on the heat sink or in the device, making sure that the thermal pad is in contact with the appropriate surfaces. - Secure the Battery: Use the appropriate mounting hardware or clips to secure the battery in place. Make sure the battery is firmly attached and there is no movement or play.
6. Final Check
Once the battery is mounted, it's important to perform a final check to ensure that the installation was successful. Here's what you should do: - Check the Alignment: Inspect the thermal pad to make sure it is still properly aligned and in contact with the battery and heat sink. If the pad has shifted or become misaligned, carefully reposition it. - Check for Air Bubbles: Look for any air bubbles or gaps between the thermal pad and the surfaces. If you find any air bubbles, use a flat tool to gently press them out. - Test the Device: Power on the device and monitor the temperature of the battery. If the temperature is within the normal range, the installation was successful. If the temperature is higher than expected, there may be an issue with the installation or the thermal pad itself.
Additional Considerations
- Thermal Interface Materials Compatibility: In some cases, you may need to use other thermal interface materials in conjunction with the Battery Thermal Pad. For example, Thermally Conductive Gel can be used to fill any small gaps or irregularities between the thermal pad and the surfaces. Make sure to choose compatible materials to ensure optimal thermal performance.
- Environmental Conditions: Consider the environmental conditions in which the battery will operate. If the device will be exposed to high temperatures, humidity, or other harsh conditions, choose a Battery Thermal Pad that is designed to withstand these conditions.
- Maintenance: Regularly inspect the Battery Thermal Pad for signs of wear or damage. If the pad becomes damaged or loses its thermal conductivity over time, replace it with a new one.
Contact for Purchase and Consultation
If you're interested in purchasing our high - quality Battery Thermal Pads or have any questions about the installation process, please don't hesitate to contact us. Our team of experts is ready to assist you with your thermal management needs. Whether you're looking for a standard thermal pad or a custom - designed solution, we can provide you with the best products and services.
References
- "Thermal Management in Batteries: Principles and Applications" - A comprehensive guide on thermal management techniques for batteries.
- "Best Practices for Installing Thermal Interface Materials" - An industry - recognized resource for proper installation of thermal interface materials.